
1. Open up the texture or photo you are going to be applying the text to.

2. Select the 'Horizontal Type Tool' and set the font and size to your preferences. I'm using Garamond, 48pt. Make sure the color is black. Then click on your texture/photo and type whatever you want.
2a. Make sure your text is centered. In order to do this you can either use 50% horizontal and vertical guides with the 'Snap to...' option checked or you can create your text in other document so when you copy it and paste it on your texture/image it will be centered.


6. Duplicate the text layer and simplify it by right clicking the text layer and clicking 'Simplify Layer'. Right click the layer again and click 'Simplify Layer'. Rename this layer 'depth'.
7. Reset your color swatch to default by pressing the 'D' key on your keyboard. Then go to Filter - Sketch - Bas Relief. Set the Detail to '12', the Smoothness to '2' and the Light to 'Left'.
8. Go to Enhance - Adjust Lighting - Shadows and Highlights. Match your settings to mine below and click 'OK'.

9. With the 'depth' layer still selected go to Filter - Blur - Gaussian Blur. Use a radius of '1'. Click OK.
10. Go to Filter - Render - Lighing Effects. On the presets drop down menu select 'Soft Omni' and on the preview position the lighting where you want it to be. I've positioned mine on the center of my text. On the 'Texture Channel' select the current layer you're working on.

10. Select All (Ctrl + A) and copy (Ctrl+C). Create a layer mask and Alt + click on the layer mask thumbnail. Then paste (Ctrl+V). Then deselect (Ctrl + D).

11. Still on the layer mask, go to Enhance - Adjust Lighting - Levels. Set your settings to match mine below.

12. Go to Layer - New Adjustment Layer - Brightness and Contrast. Set your settings to match mine for the Brightness. For the Contrast, but moving the slider to the left you can achieve a softer look, while moving it to the right will result in a more defined look.Then go to Layer - Use Previous Layer to Create Clipping Mask (or Group to Previous if you're using an earlier version of Elements).

13. In your layers palette, click on the original text layer you created in step #2. Go to Layer - New Fill Layer - Solid Color. On the dialog that comes up select 'Create Clipping Mask with Previous' or 'Group to Previous', or whatever the equivalent.. Then for the color, use #00c5c7. Lower the opacity for this layer to 25%.
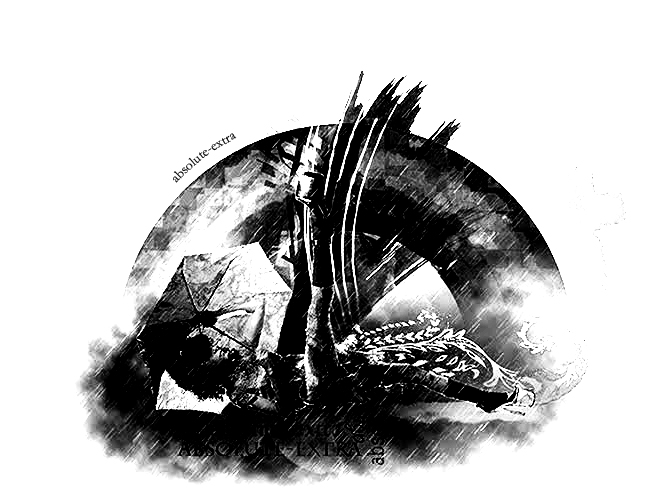
You're done! :) You can see how mine turned out below after some tweaks. The lyrics are from the song Smile by Uncle Kracker.
