The 'Speckled Vintage' effect is basically gives you a washed out vintage look with speckles. It worked awesome on people and nature shots. Enjoy. :D
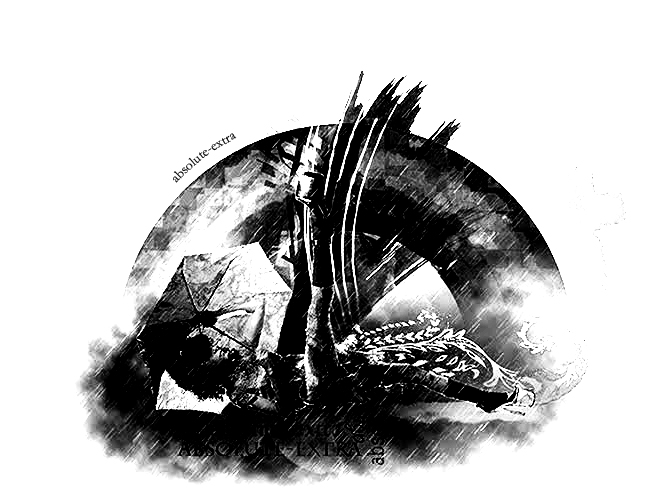
Before:

After:

1. Open your image (I'm using a picture from www.free-celebrity-picture.com) and duplicate it so the original won't be affected. Name this layer 'Work Layer'.
2. Go to Layer - New Fill Layer - Solid Color. Fill with #002157 [a dark blue].
2a. Set the blend mode of this layer to 'Exclusion' and the opacity to 64%.
3. Go to Layer - New Adjustment Layer - Photo Filter. Choose the 'Sepia' filter, move the density slider to 70% and make sure 'Preserve Luminosity' is checked.
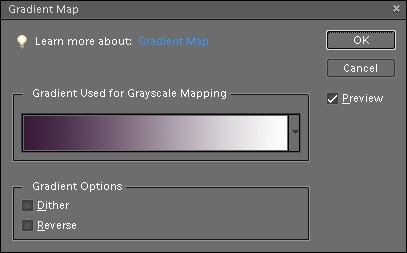
4. Go to Layer - New Adjustment Layer - Gradient Map. Make a #381a38-white gradient as shown below.
4a. Set the blend mode of this layer to 'Screen' and the opacity to 64%.
5. Go to Layer - New Adjustment Layer - Brightness/Contrast. Set the 'Brightness' to -13 and the 'Contrast' to +69.
6. Click on 'Work Layer'. Duplicate it by either going to Layer - Duplicate Layer... or by pressing Ctrl+J on your keyboard. Name this layer 'Speckles' and drag it to the top of the stack.
6a. Compare your layers palette/panel to the one below.

7. With the 'Speckles' layer selected, go to Filter - Sketch - Reticulation.... Set the 'Density' to 38, the 'Foreground Level' to 24, and the 'Background Level' to 21. Click OK.
8. Select the brush tool [B] and choose a medium sized, soft, white colored brush with an opacity of about 70-75% and go over the face. Then lower the opacity to around 30-35% and go over any other areas on skin where many speckles have clustered.
8a. Below is my before (top) and after (bottom) regarding 'speckle cleansing'. I went over the face and arm. Click on the thumbnail for a larger preview.


9. Set the 'Speckles' layer to a blend mode of 'Hard Light' and an opacity of 48%.
9a. Feel free to touch up the 'speckle cleansing' or adjust the opacity.
10. Go listen to the awesome song Every Teardrop is a Waterfall by Coldplay that inspired me to make this tutorial. :)
You can also apply this effect on photos with other subjects besides people. Simply omit step 8 or apply it as needed depending on your photo. Here's an example on a photo from istockphoto:
